WORK PROCESS
Our Hanko-Making Process
Learn about the skilled craftsmanship and steps involved in creating each of our hanko.

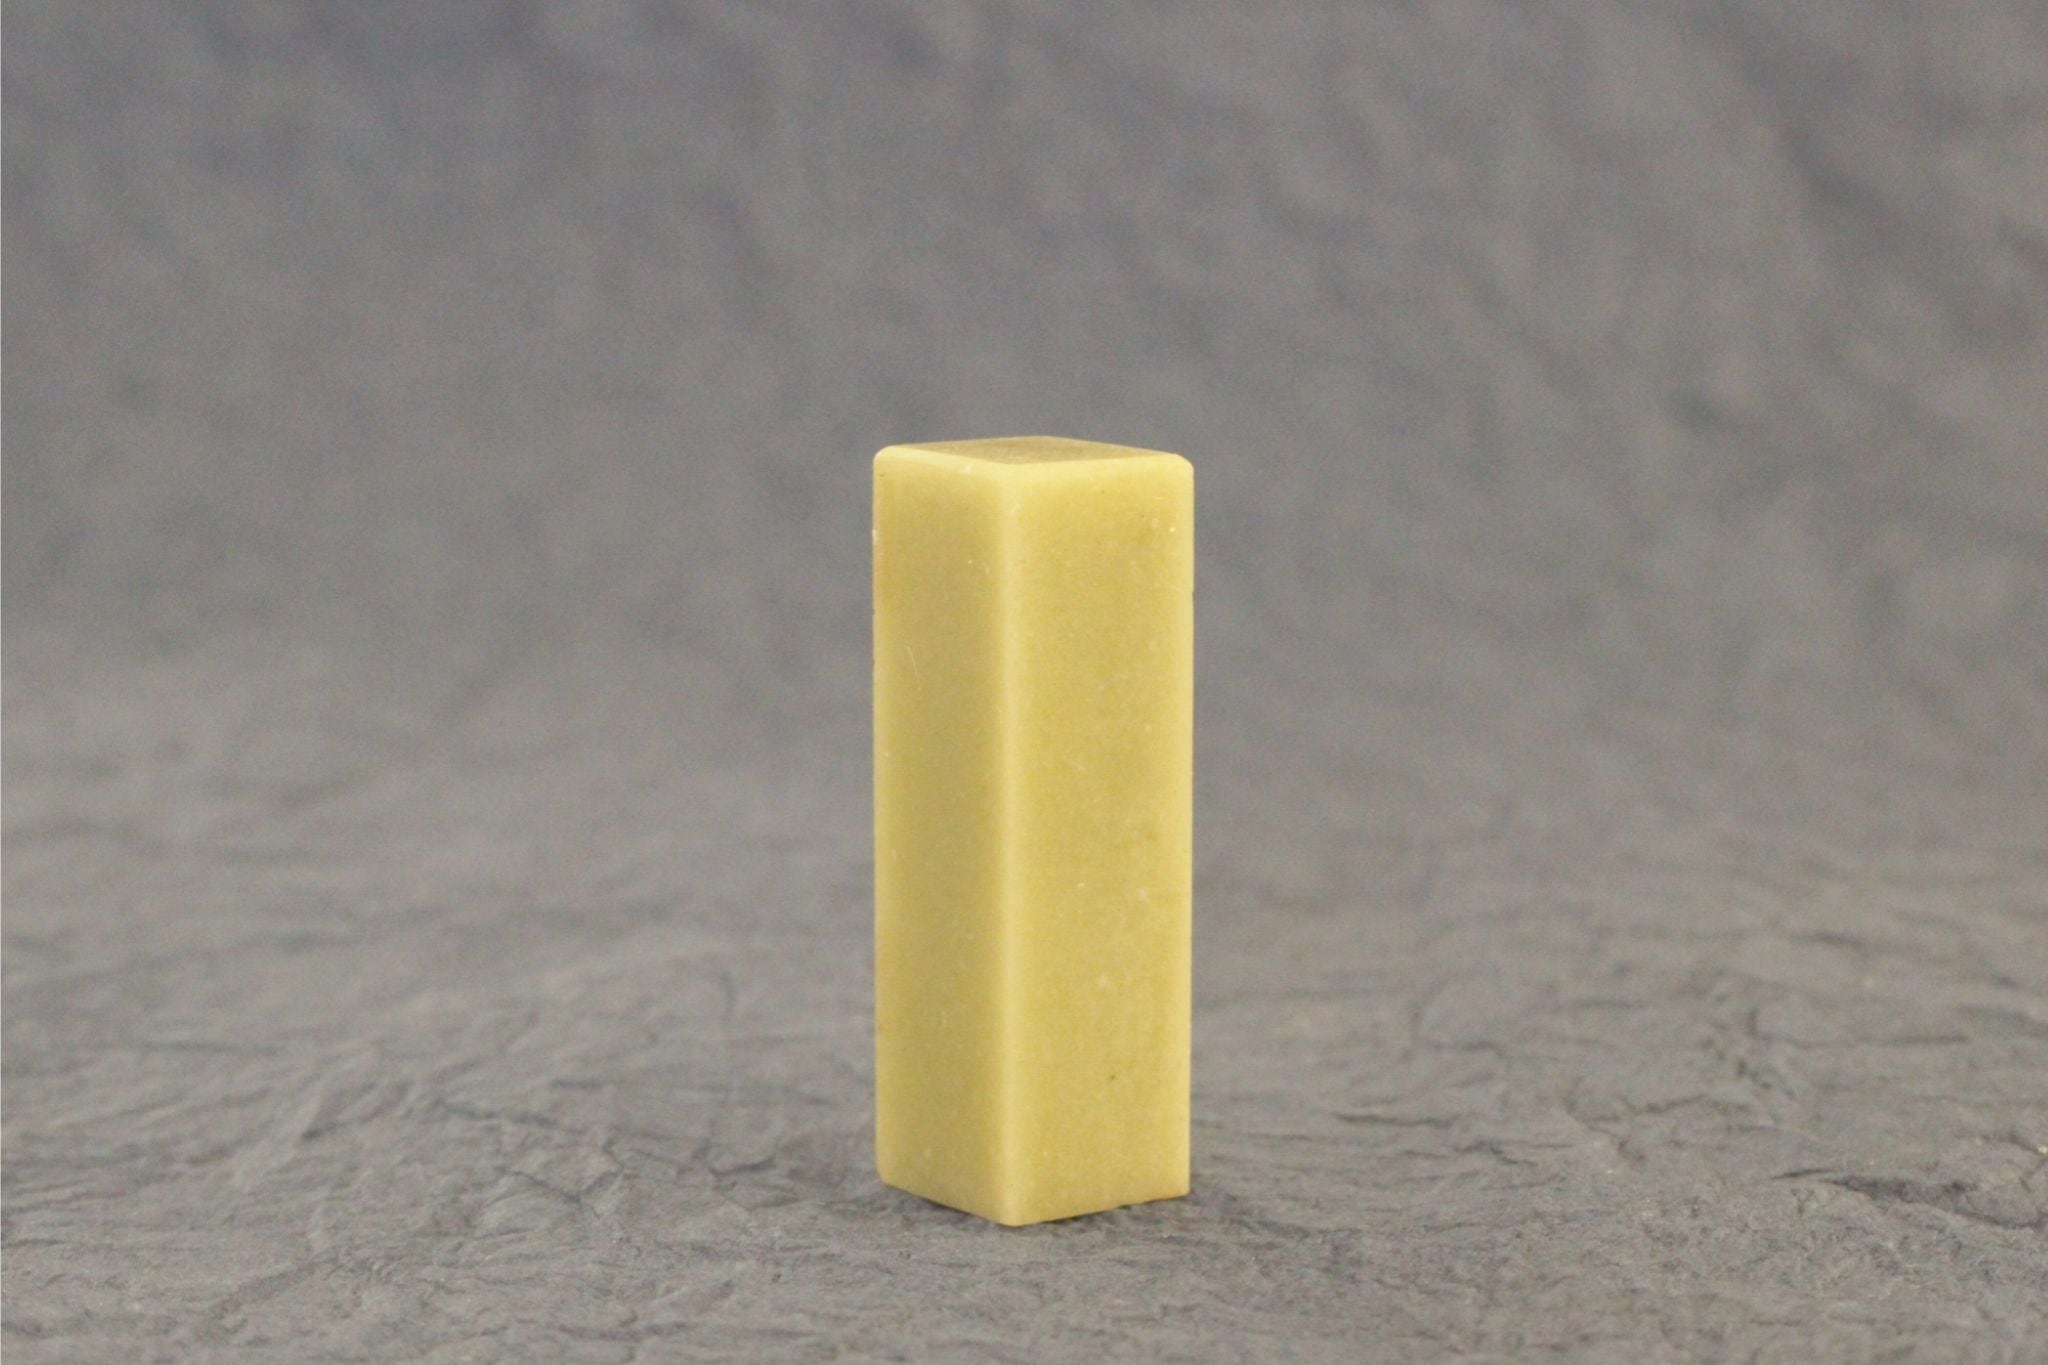
MATERIAL
We use pagodite, a smooth, natural stone prized for its beauty and ease of carving. Traditionally used in Japanese seal making, it brings warmth and character to every piece.

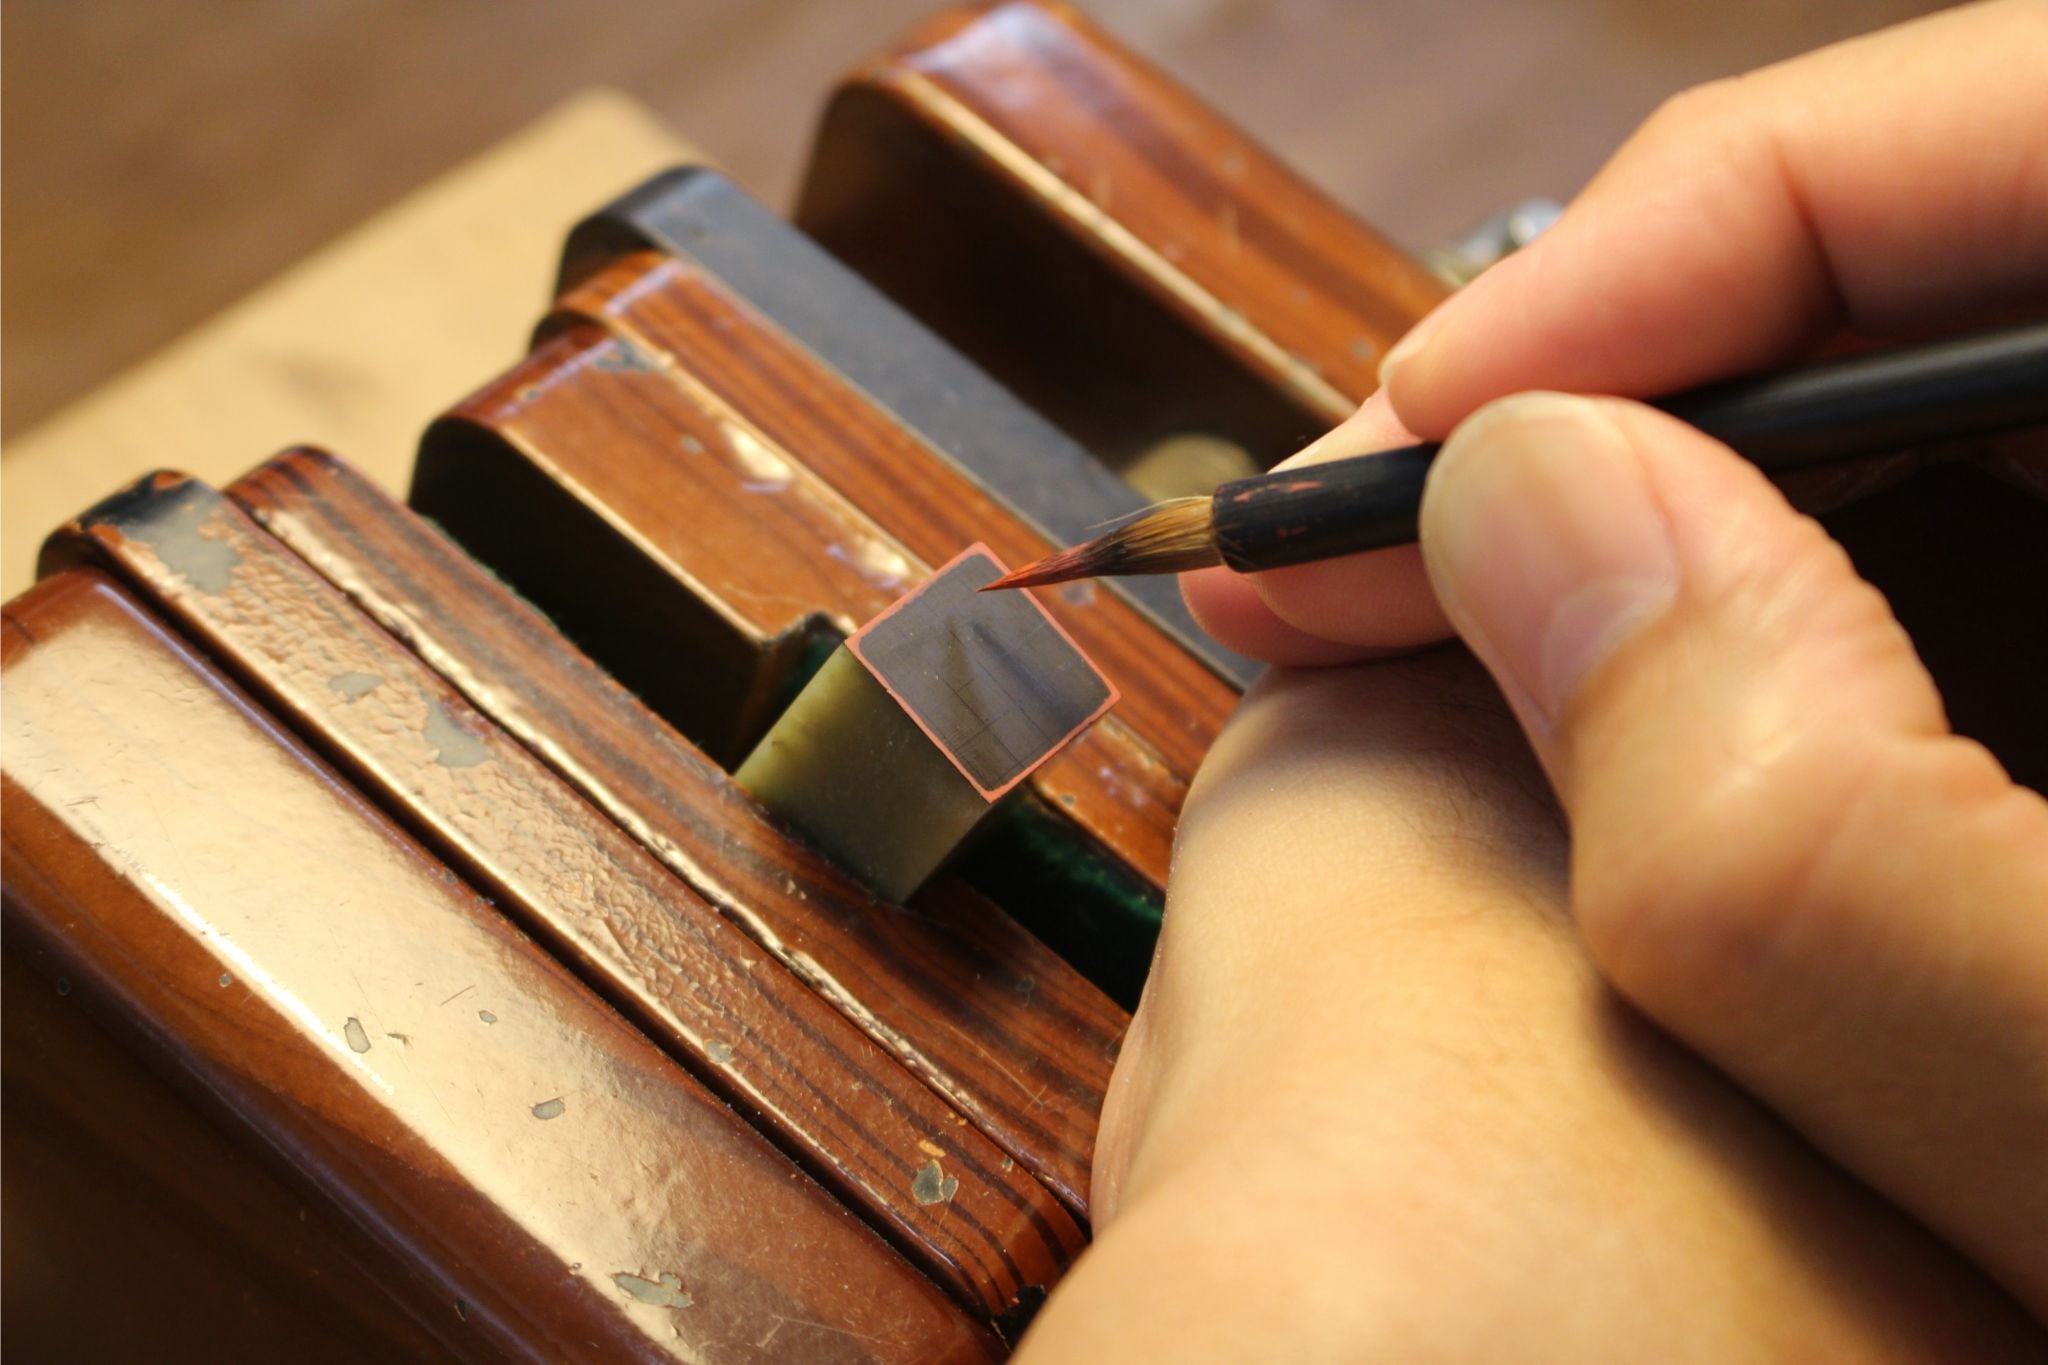
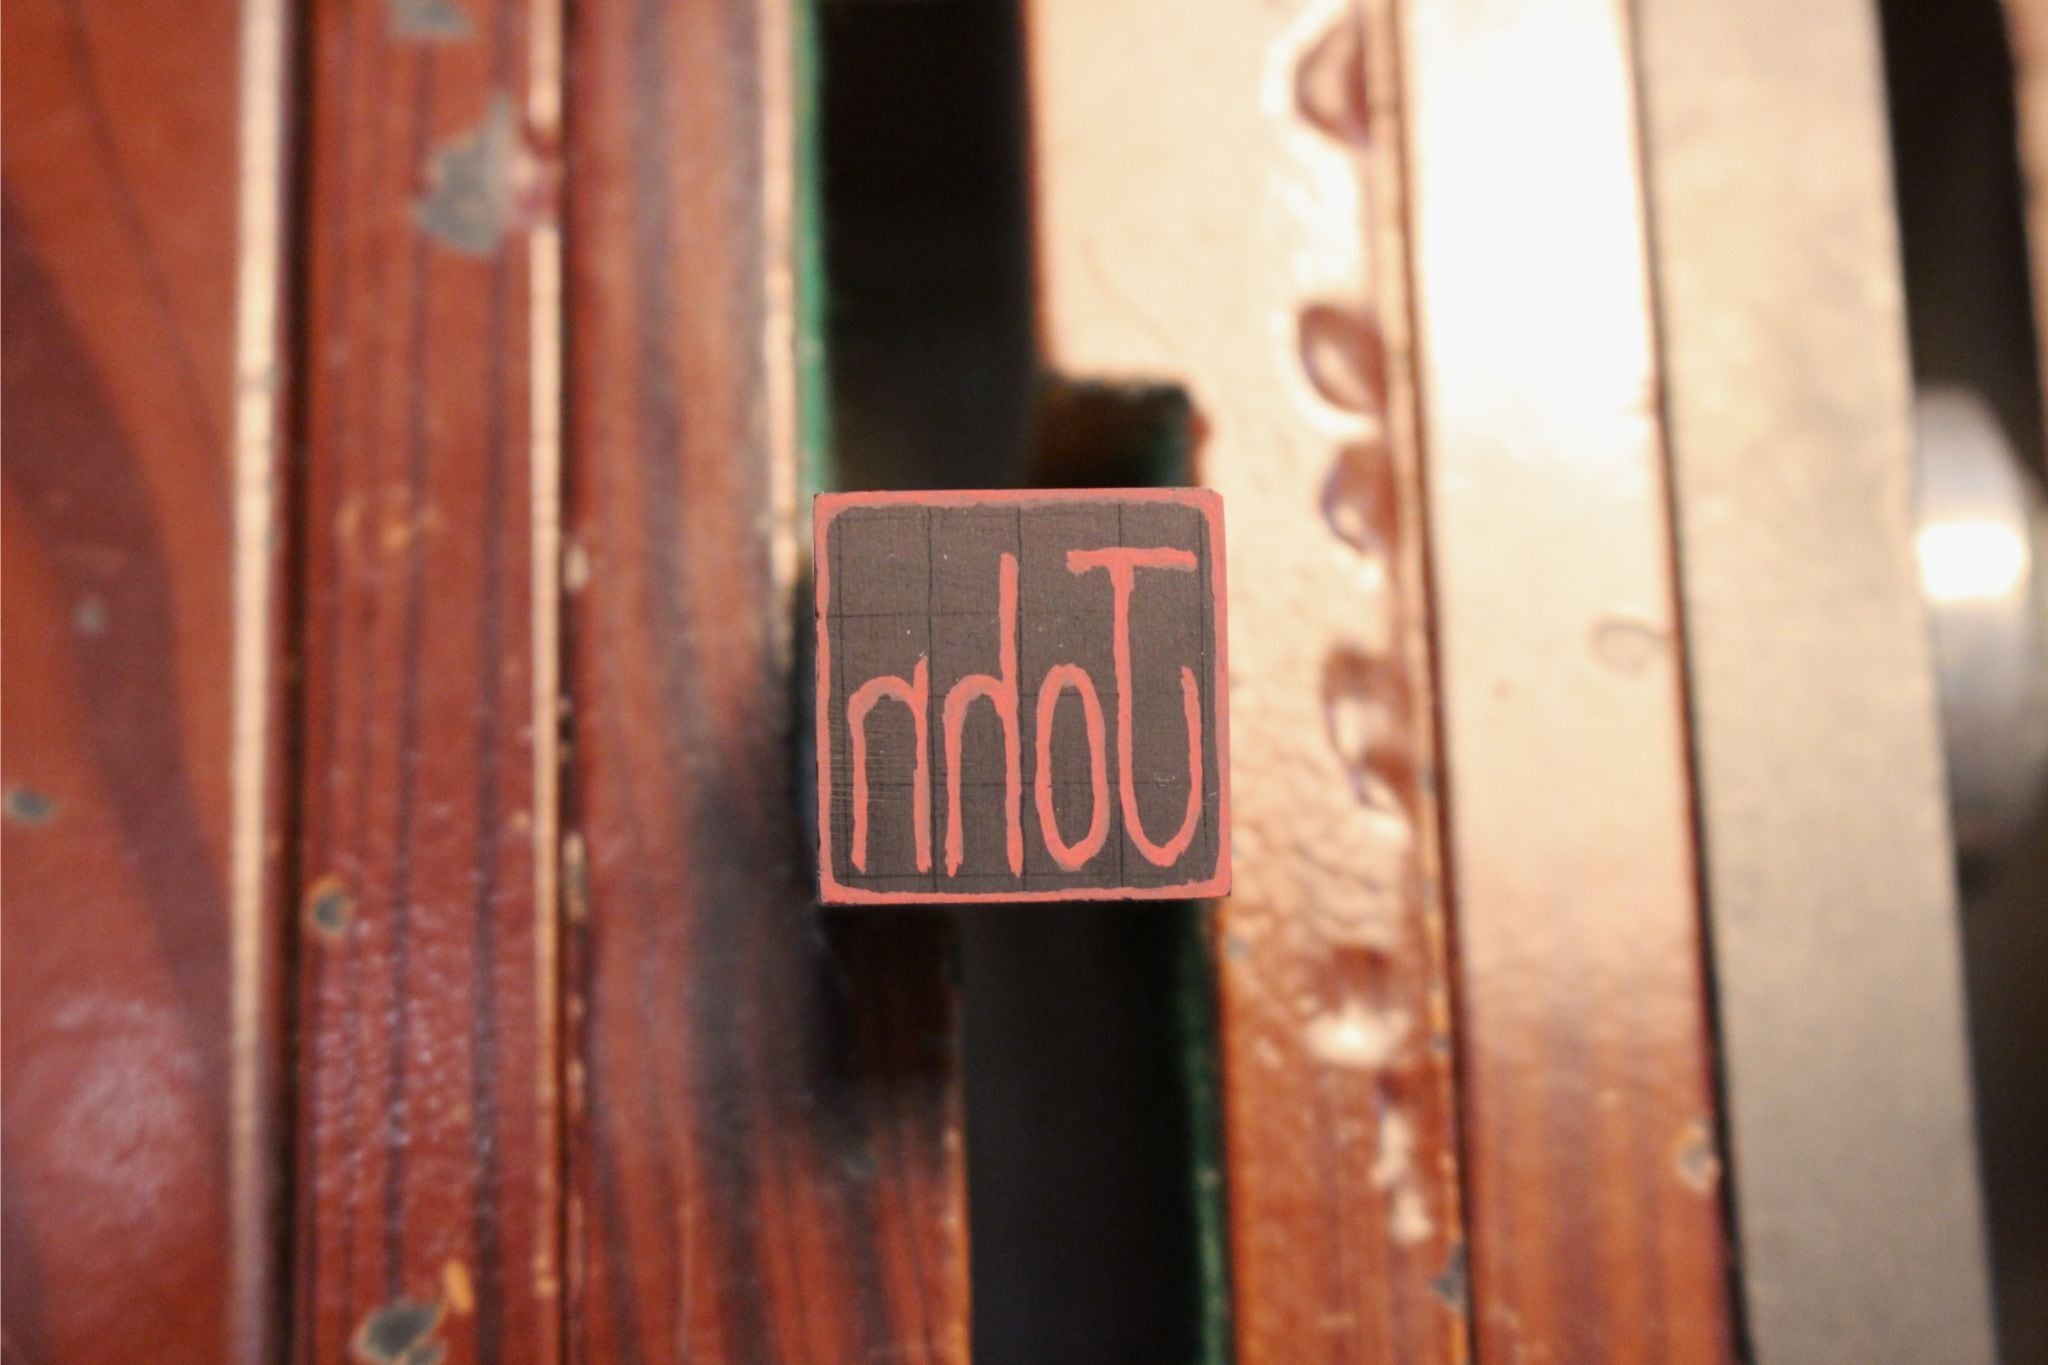
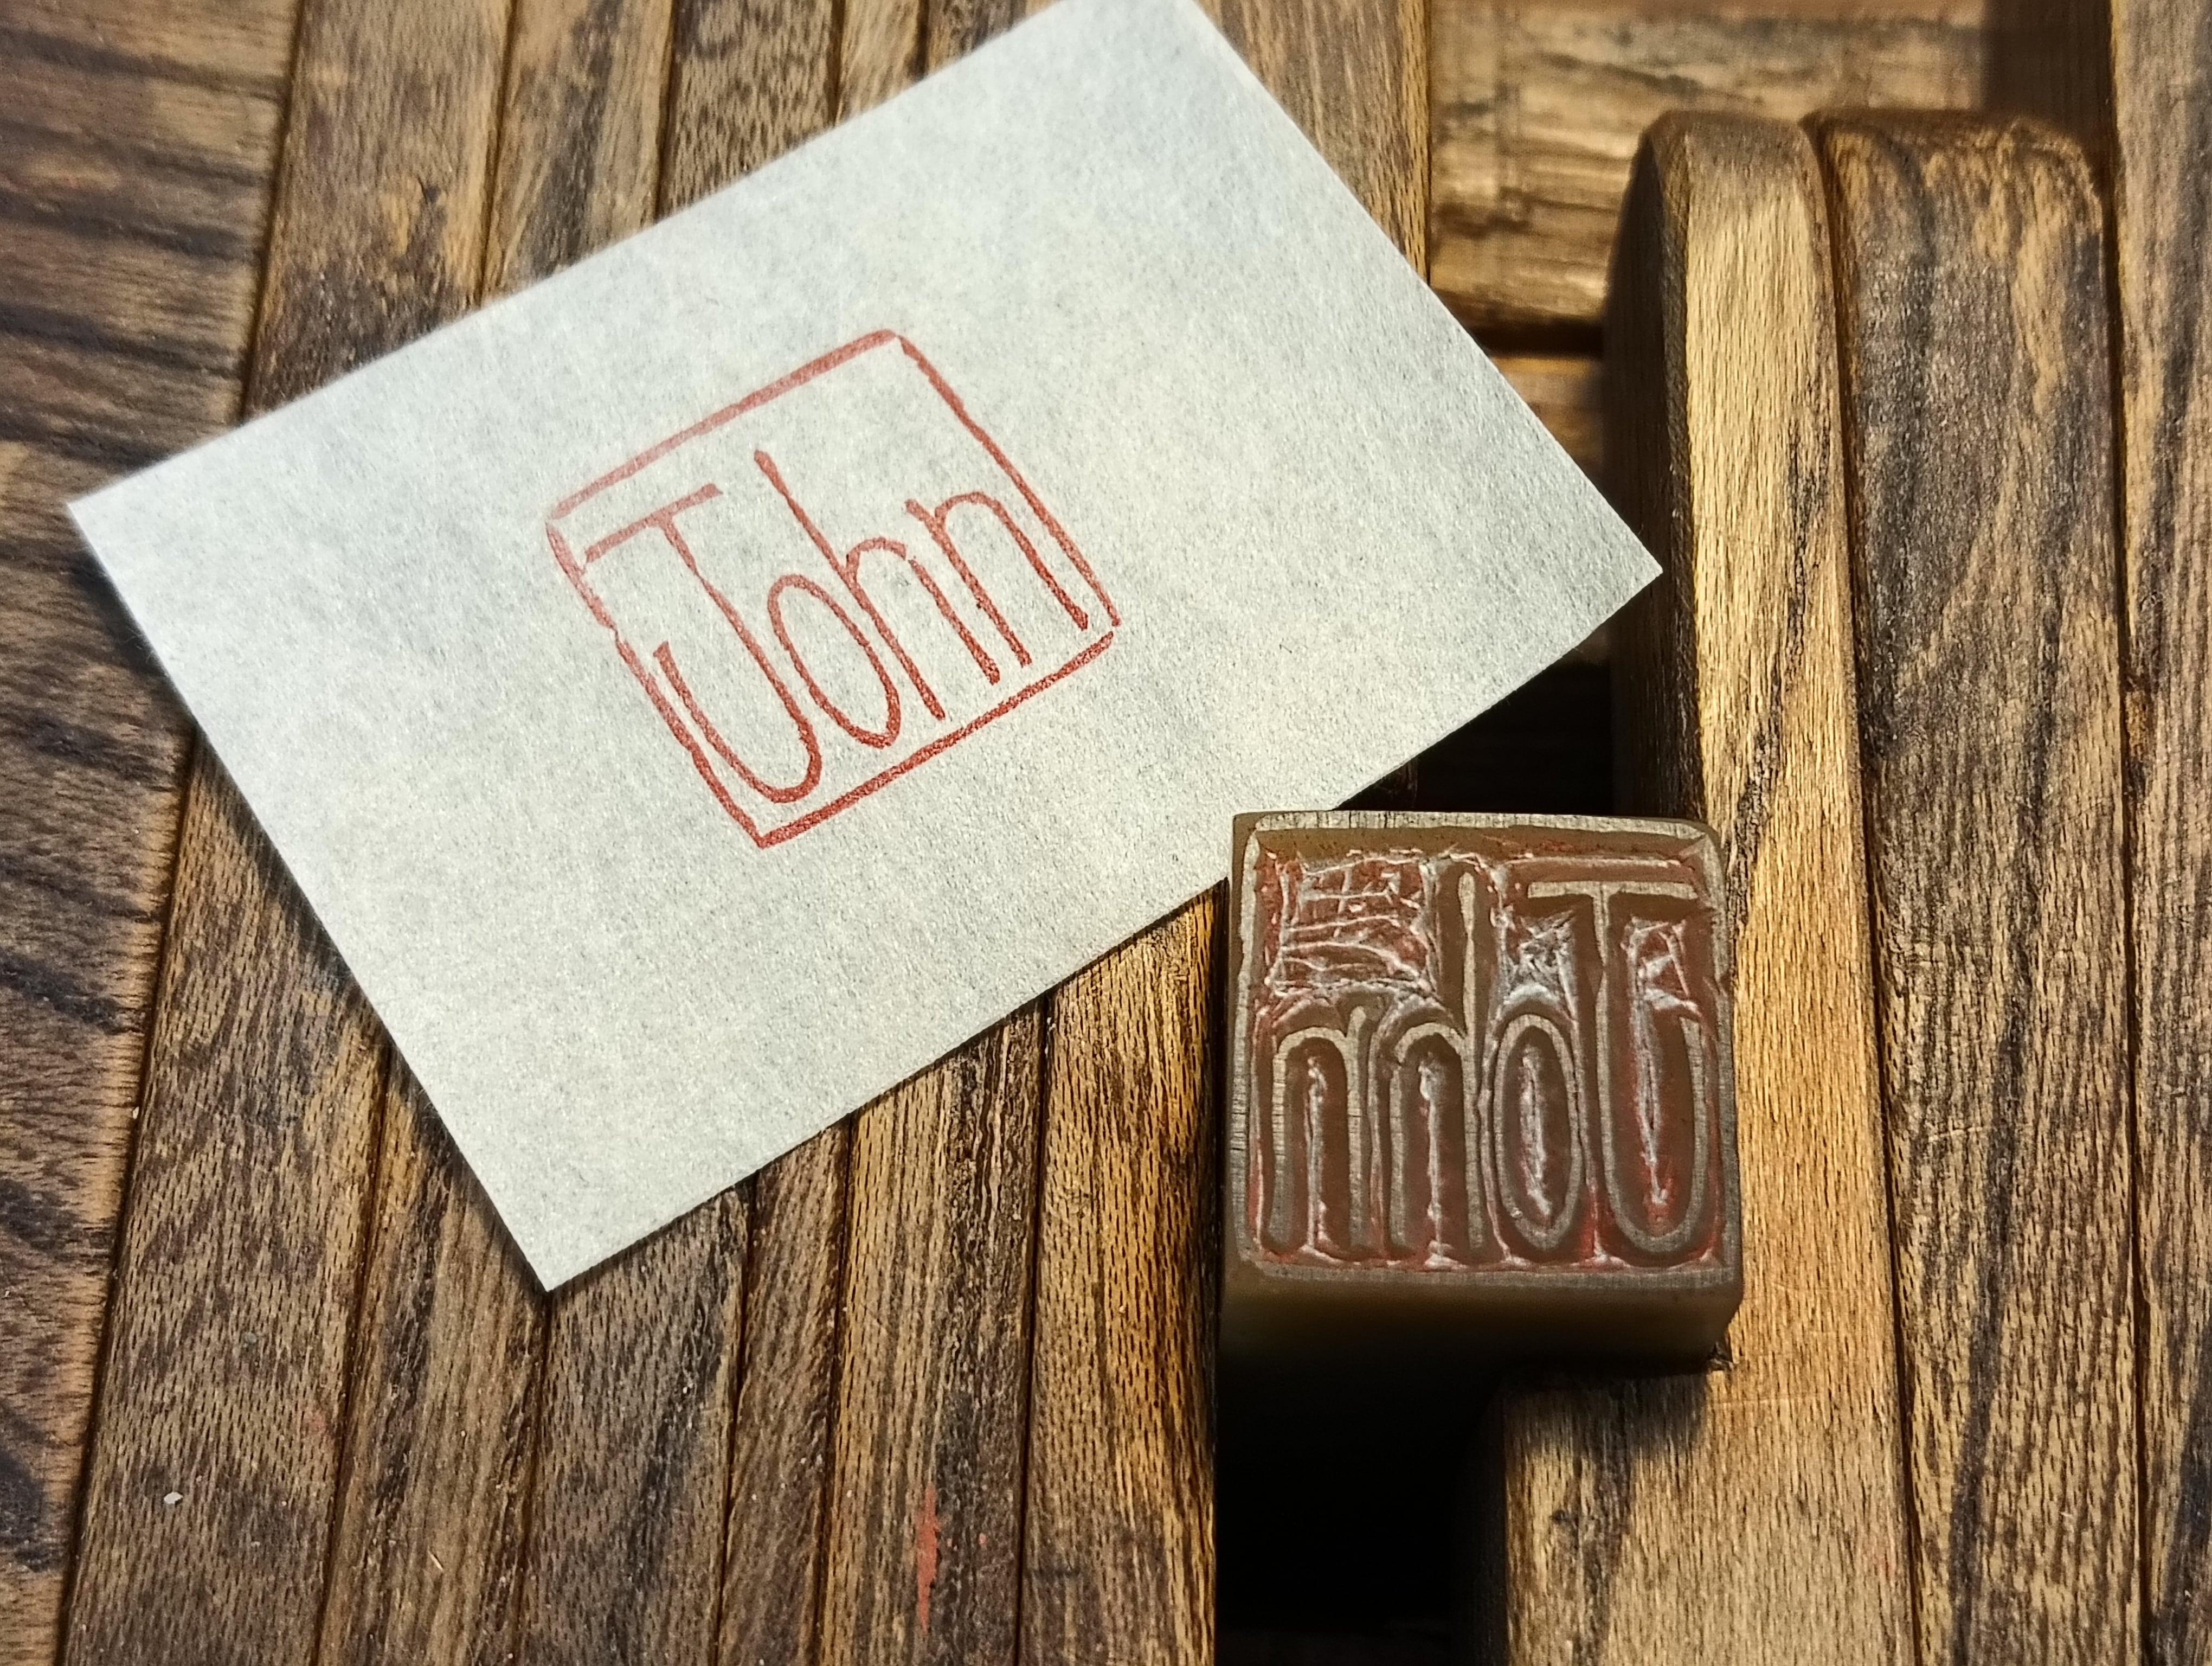
Inscription (jiire)
Before carving, we hand-draw your name onto the stone, using a brush and ink. This step requires balance, precision, and artistic skill. Even small adjustments can change the entire look of the seal.

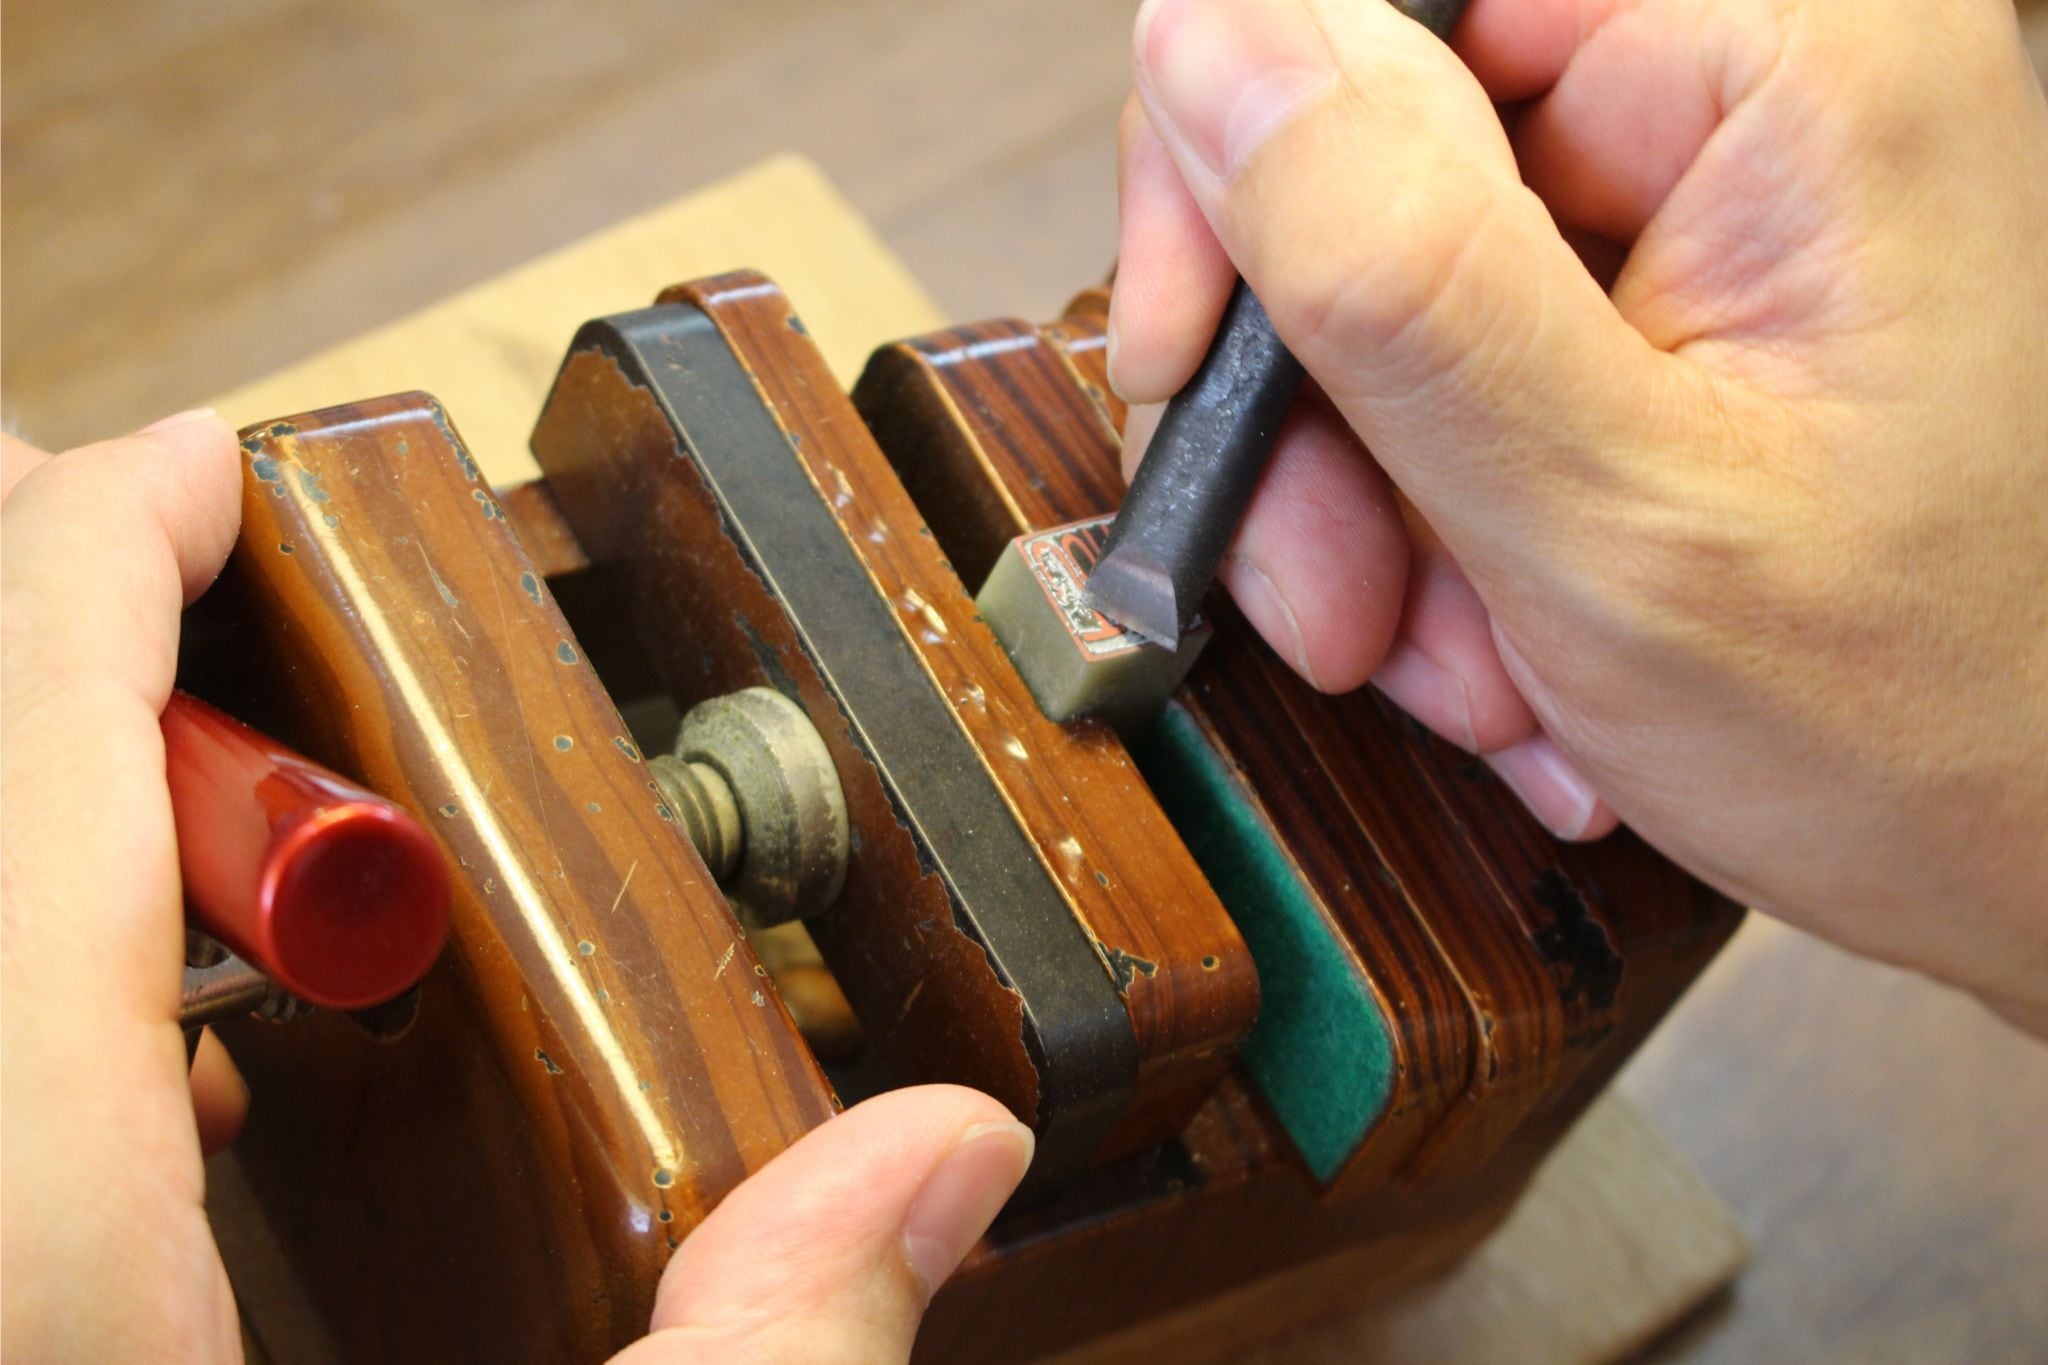
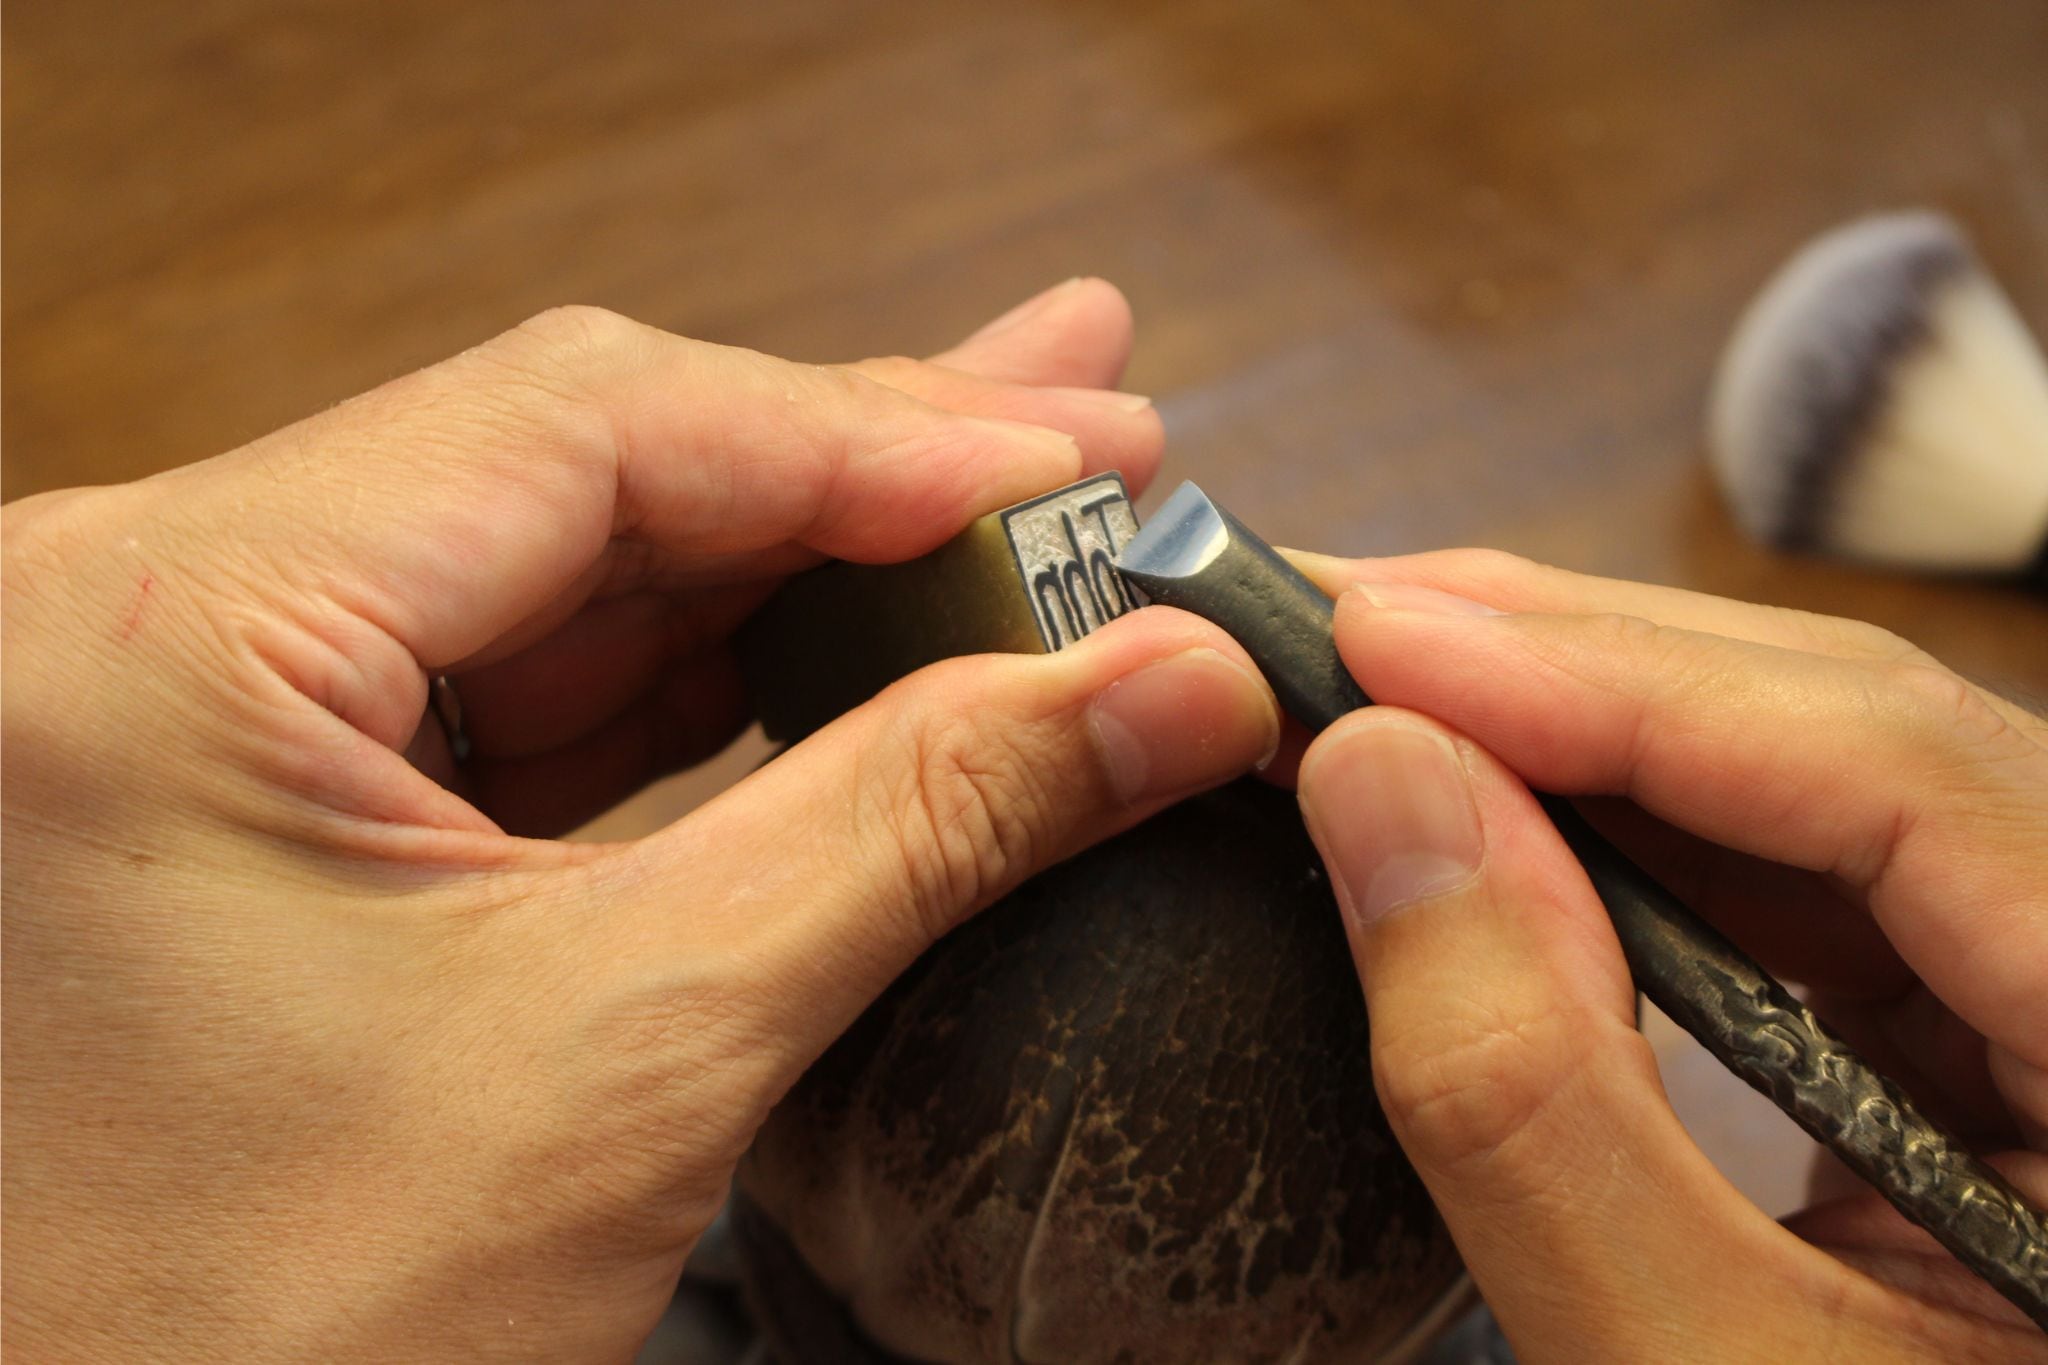
Rough Carving (arabori)
Rough carving is the first step in engraving your seal.At this stage, we carefully remove excess stone to shape the overall form of each character.
Though it may seem basic, this process requires precision and confidence—once the stone is cut, it cannot be undone.
A strong foundation here is essential for achieving clean, beautiful lines in the final engraving.

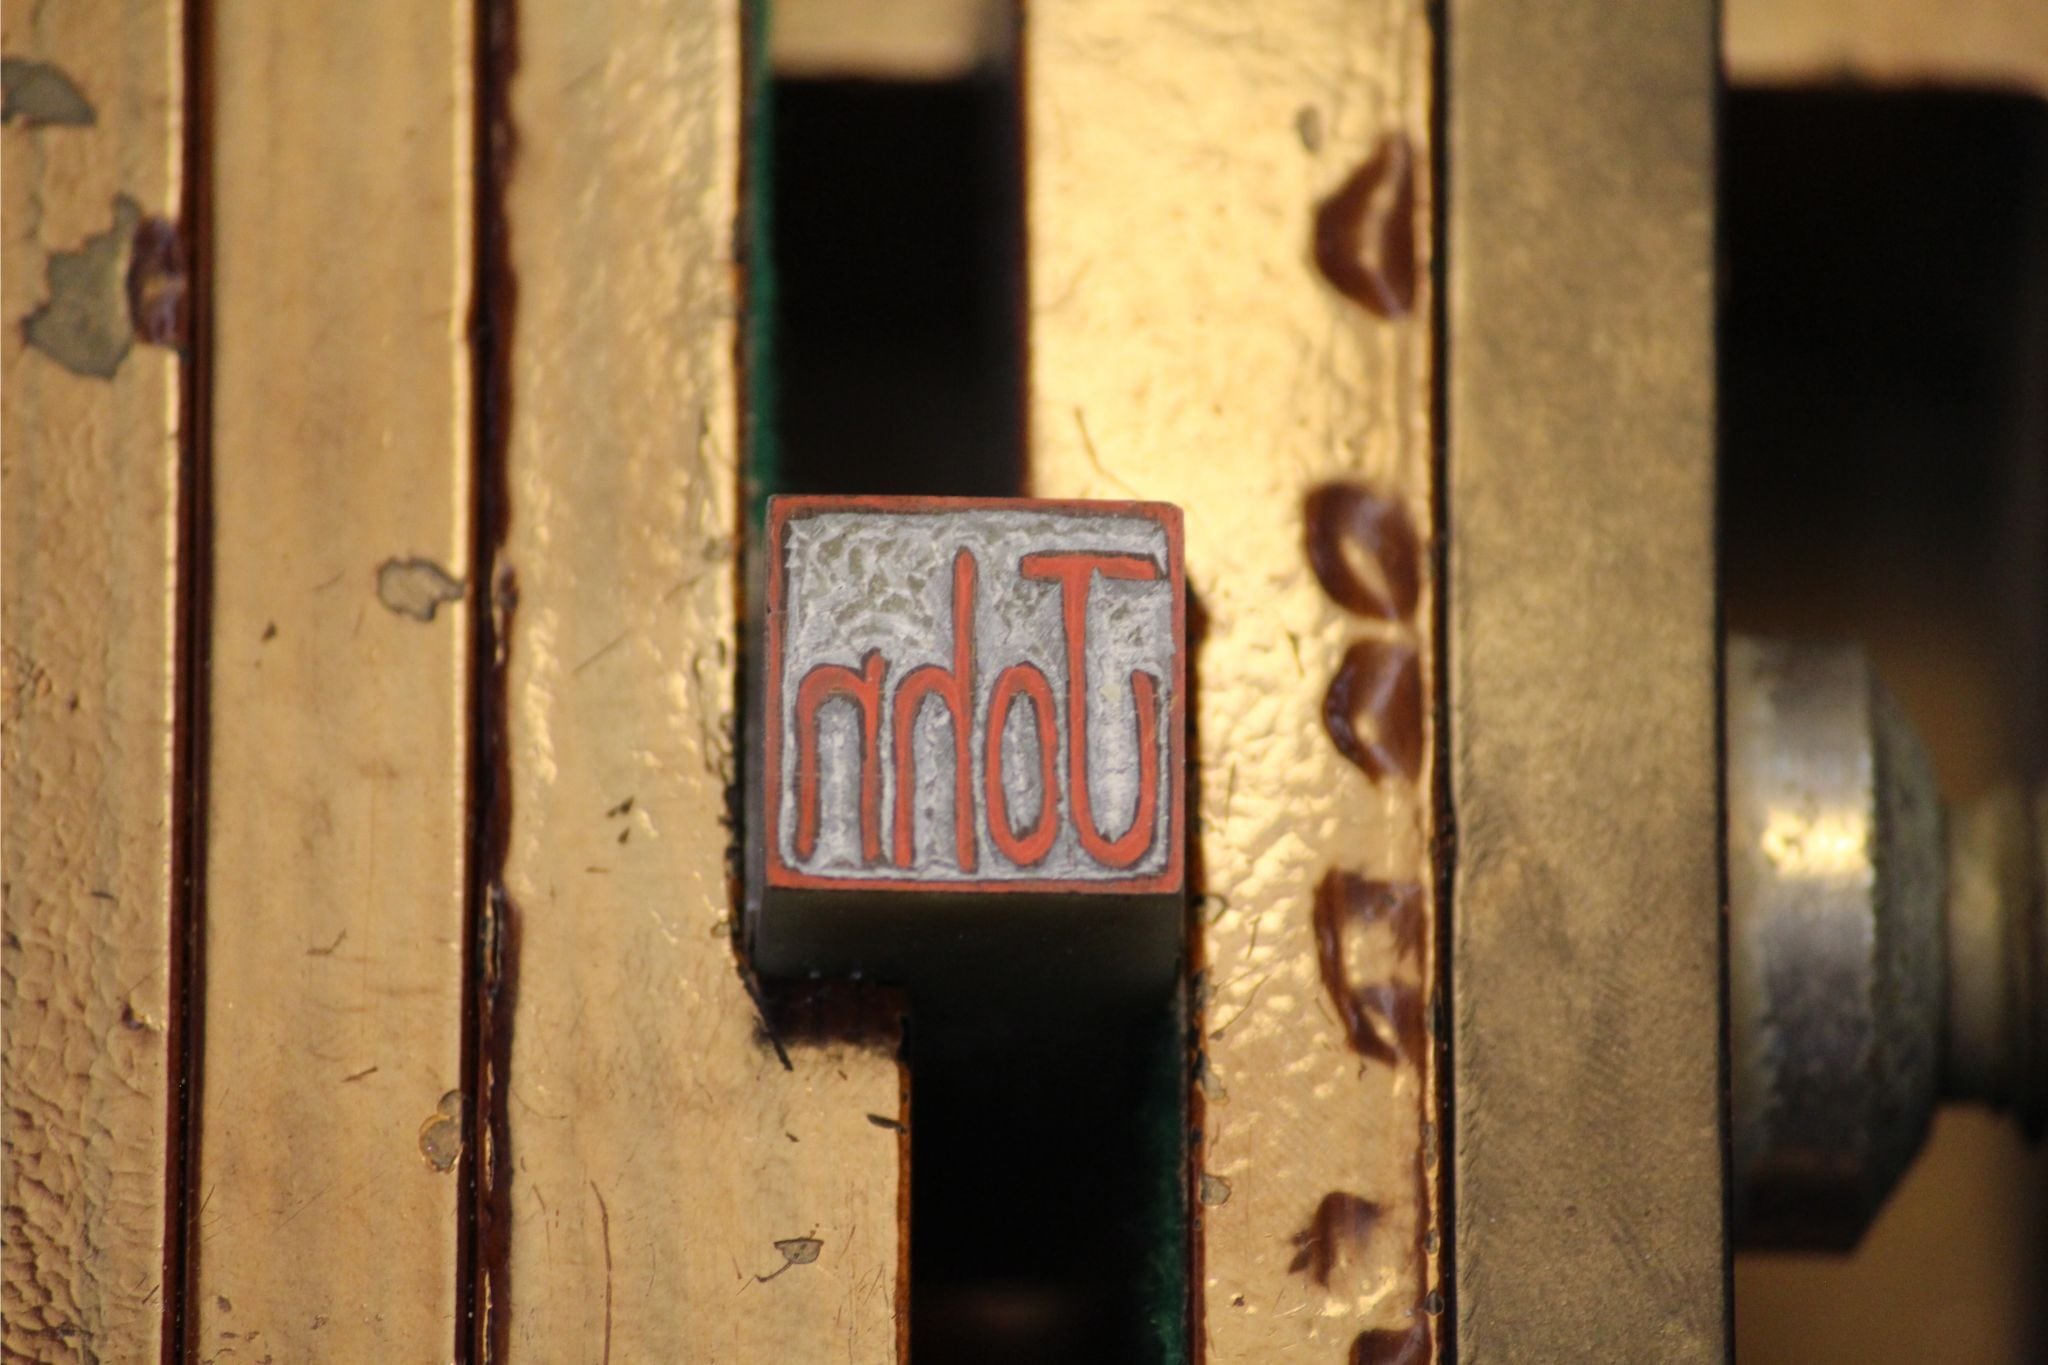
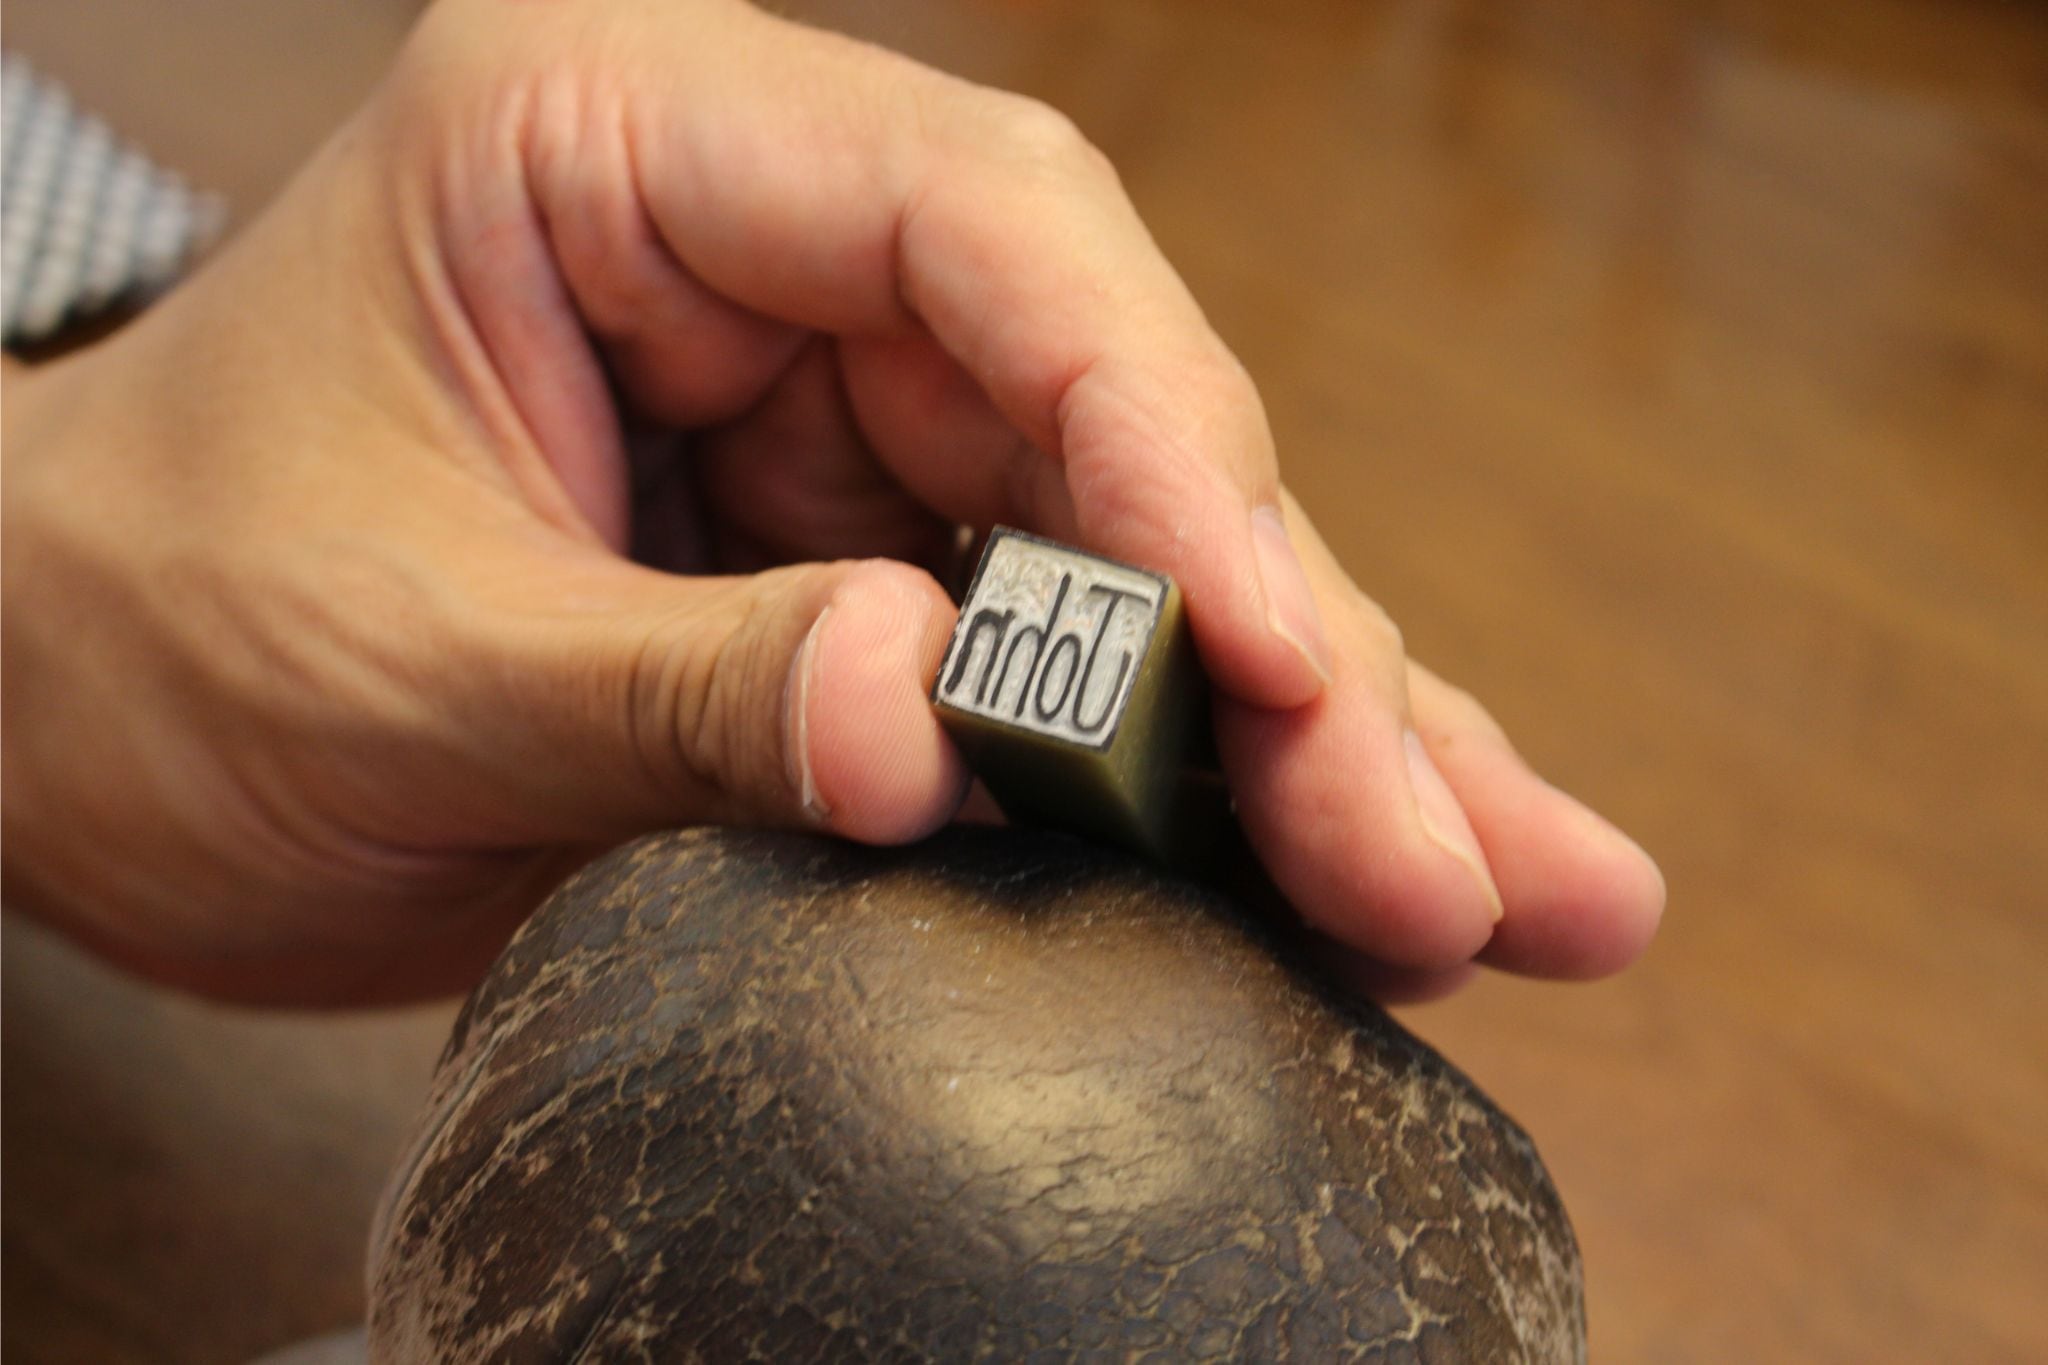
Finishing (shiage)
Finishing is the final step of carving.
Here, we refine each stroke, adjusting the shape and flow of the characters by hand.
This delicate process brings the design to life, adding elegance, strength, and balance to your seal.
Even the smallest touch makes a big difference in the final impression.